Installation requirements
Microsoft .Net Framework Version 4.7.2 or later is required for installation of esdbm.
If this is not the case, you will be notified of this during the installation of esdbm. If the computer that you are using for the installation also has Internet access, you will also be able to install this program. A separate window containing a corresponding message will be displayed. Without Internet acces, you will need to install the .Net Framework separately before you can start installation of esdbm again.
Installation of esdbm requires administrator authorizations. Access to the para directory of the esoffice installation will be required during the installation process.
The ESTransfer.ESO.DLL library is also copied into the program directory when you install esdbm. This file provides further functions within the transfer.
Also see the transfer functions
esdbm installation
esdbm installation
-
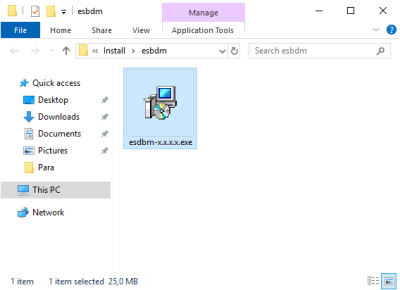
For installation and updating, start the esdbm-x.x.x.x.exe installation program (run as administrator) by double clicking on the installation file (x.x.x.x stands for the esdbm version number).
The setup wizard opens.
-
The first window displayed in the setup wizard shows information about the changes to the program made in previous versions.
Click on the Next button to continue.
-
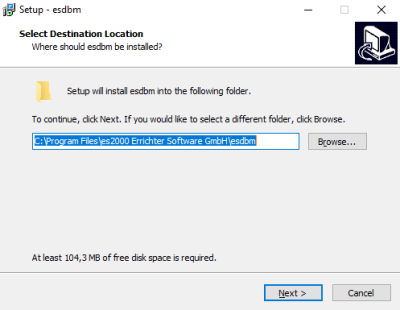
Select the desired installation path. The Search button opens an Explorer window where you can specify the path individually.
By default, esdbm will be installed in the directory C:\Program Files\es2000 Errichter Software GmbH\esdbm.
Click on the Continue button to proceed to the next step.
-
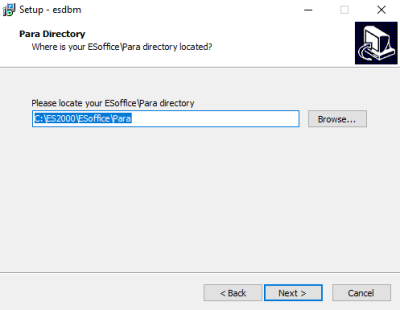
Select the esoffice Para directory.
Para-Verzeichnis
Das esoffice-Para-Verzeichnis befindet sich in der Regel im esoffice-Programmverzeichnis, wenden Sie sich ggf. an Ihren Administrator.
Im Para Ordner befinden sich die Lizenzdatei (licence.cfg), die Datenbankverbindungskonfiguration (dbxconnections.ini) und Datenbanktreiberkonfiguration (dbxdrivers.ini).
You can set the corresponding path by means of the Search button.
Click on the Continue button to proceed to the next step.
-
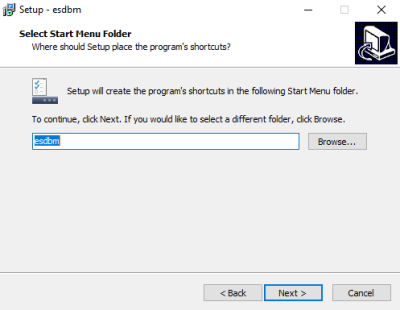
Select a Start menu folder or use the default folder.
Click on the Continue button to proceed to the next step.
-
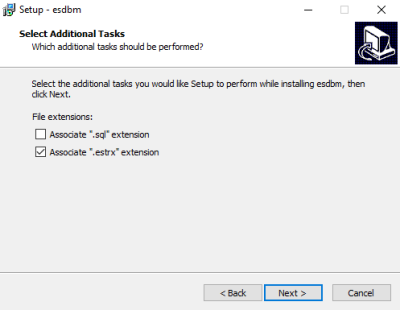
In this step, you can specify the file types to be opened with esdbm.
You can select *.sql and *.estrx files.
*.sql
Text files with SQL queries / database or update scripts
Also see SQL query
*.estrx
XML format transfer scripts (transfer of database contents, also see Transfer).
Activate the appropriate options and then click on the Next button.
-
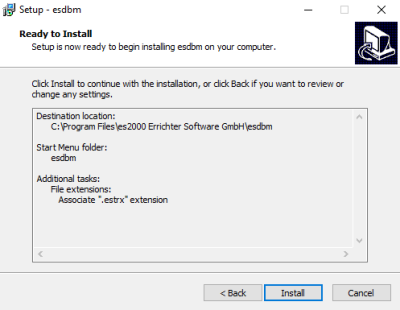
A summary of the selected installation settings is displayed.
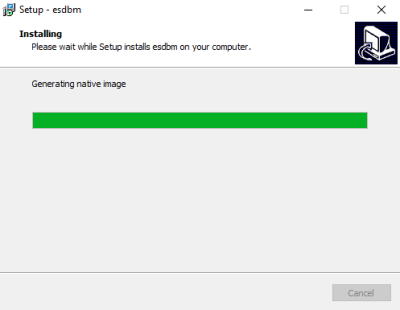
Click on the Install button to start the actual installation.
-
You can start the esdbm program automatically after installation.
The start esdbm option is already activated by default.
-
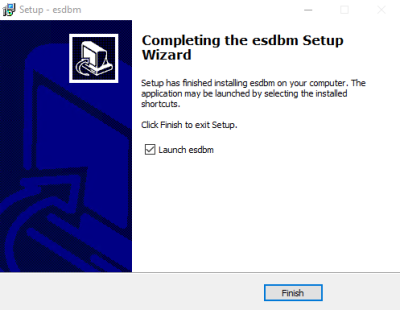
Click on Complete. If you selected the Start esdbm option, esdbm will start when the installation program ends.
Start esdbm
Start esdbm using the corresponding icon that was created during the installation (desktop or Windows start menu).

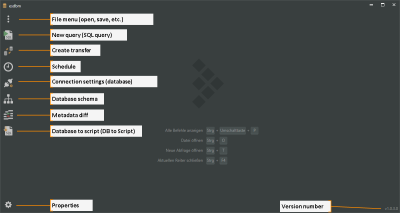
When you start esdbm, the Start screen is displayed:
You can use your esoffice login data (personnel number / password) to authenticate yourself to the application.
After logging in, the list of form templates will be displayed..
If the error message esdbm cannot be started on this computer for licencing reasons! is displayed when you start esdbm, this can be due to the following:
-
The PARA folder does not exist or cannot be accessed (due to missing authorization, etc.).
Solution: Check the PARA directory that is specified in the program shortcut for esdbm (parameter -e:) and correct the path or the authorization if necessary.
-
No PARA directory was specified with the start parameter -e: in the program shortcut.
Solution: Add the start parameter -e: and the path to the PARA directory to the program shortcut.
Start parameters
esdbm can be started with various parameters, which can be used in the command line or in a shortcut. The most important parameters available are described below.
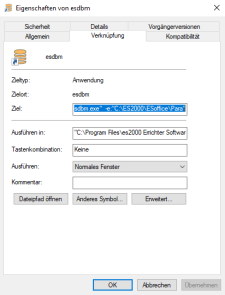
In this example, parameters will be added to a shortcut to esdbm.
The following window displays the default Windows dialog for shortcuts.
You can use the following parameters in the target or command line, each separated by a space:
Database
Database alias
-a: Alias name/Path
Points to the database alias, for example: ESLocal, or the path to the database.
It is not normally necessary to add a parameter that points to a database, as esoffice always uses the alias ESWin.
It may be necessary to specify the database / database alias if a parallel test environment is to be used.
-a:ESLocal
Database alias. The additional alias should already exist.
Database additional alias
The additional alias is used as the target alias for the transfer, for example.
-z: Alias name / Path
-z:ESCopy
Database additional alias. The alias should already exist.
Para folder
The esoffice para directory / folder contains the licence file (licence.cfg), the database connection configuration (dbxconnections.ini) and the database driver configuration (dbxdrivers.ini) among other things.
-e:"[Drive]:\Path"
Path to para folder indicating the drive.
-e:"\\networkpath"
Path to para folder in the network in UNC notation.
-e:"E:\ESOffice\Para"
Modules
Certain program modules can be started when esdbm is started. For scheduled execution, execution parameters can be included for each module.
-m: Modules to be started using the following format:'Module:Parameter;Module:Parameter'
-m:'SQLQuery:ESWin;
SQLQuery:ESNLS;SQLQuery:ESMat;ConnectionSettings'
This would open three SQL queries, each with a connection to ESWin, ESNLS and ESMat, and opens the connection settings window.
Available modules
-
SQLQuery[:Alias]
SQL query
-
ConnectionSettings
Connection settings
-
Schema[:Alias]
Database schema
-
ToScript[:Alias]
DB to Script
Unsupervised start (silent run)
esdbm can be started without supervision in order to carry out scheduled tasks, for example.
-r [File]
[File]
Opens the file with the corresponding module (for example a transfer profile *.estrx).
If a transfer file is delivered as well, the transfer starts automatically.
Start transfer automatically
ESDBM.exe -a:ESWin -z:ESWinTarget -r c:\TransferScript.estrx
You can find more information on this under the subject Start parameters.
