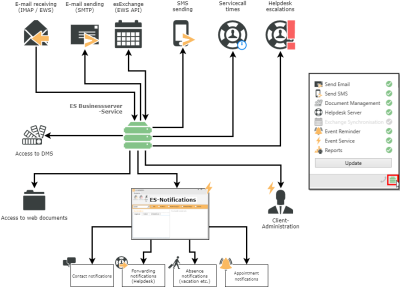
The eserp Server (es Business Server) is a central server service with a wide range of tasks. It is a basic requirement for the installation of further eserp applications.
These instructions refer to eserp version 1.x.
Instructions for eserp version 2.x and higher can be found in the German installation help.
The basic installation is normally performed by es2000 support.
For a new installation of the esoffice server, please first check the eserp system requirements (EN).
Requirements
-
SQL server (installed / configured) with eserp database
-
When using the Deployment:
Central shared Deployment folder with read authorization for all eserp clients (PARA folder)
-
Installer file eserp_server_setup.exe
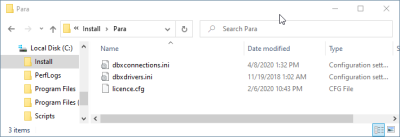
- Para folder containing the following files:
Valid license file (licence.cfg)
File with database links (dbxconnections.ini)
Database driver settings (dbxdrivers.ini )
-
Service user
Windows user with Run as service and Network log in authorizations.
Also see eserp system requirements (EN)
eserp Server installation sequence
-
Windows log in with administrator authorizations.
-
Double click on the eserp_server_setup.exe installation file to start the installer.
For a parallel installation (for example: productive and test environments), the server installation can be started with a setup ID; see also Parallel installation.
-
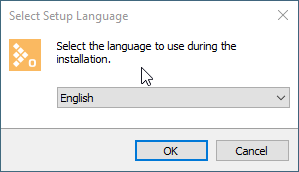
Select the desired language for the installation and then click on OK.
-
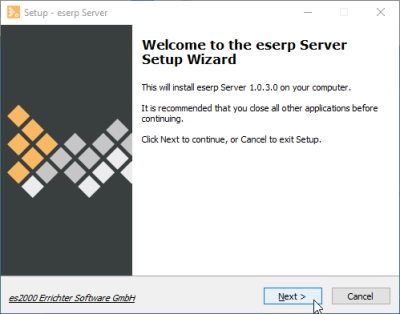
The eserp Server version is displayed. Click on Next.
-
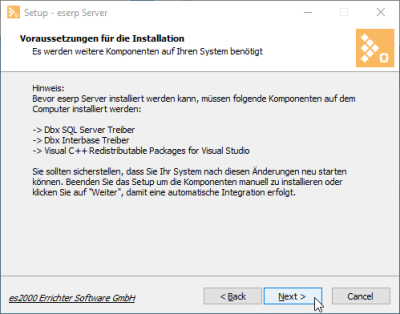
A message is displayed next, indicating which additional software components will be installed.
Click on Next to proceed.
It may be necessary to reboot the system to complete installation of the software components.
You should only continue with the installation if a restart of the system is possible.
-
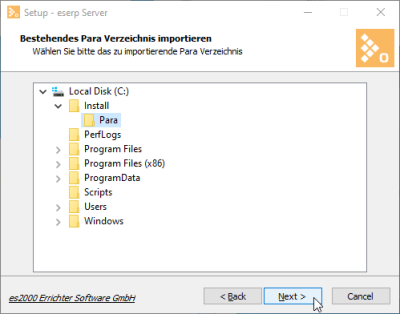
Now select the Para folder that is to be imported.
This folder should contain at least the following three configured files:
-
Valid license file (licence.cfg)
-
File with database links (dbxconnections.ini)
-
Database driver settings (dbxdrivers.ini)
-
-
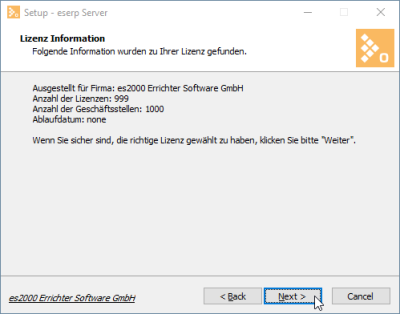
Details of the eserp license are now displayed. If the correct license is displayed, click on Next to continue.
-
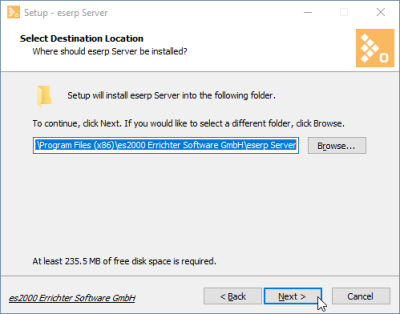
Installation is by default in the directory %ProgramFiles(x86)%\es2000 Errichter Software GmbH\eserp Server. The directory can be changed. Click on the Browse button to select a different installation path.
Click on Next to continue the installation.
-
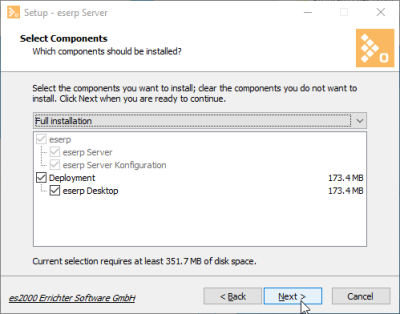
In the next step, you can select the additional components for the installation.
You can select Deployment as an additional installation option. You can control the installation and updates for the esoffice Desktop on the clients using Deployment. Deployment is selected for the installation by default. Click on Next after you have selected the required components.
-
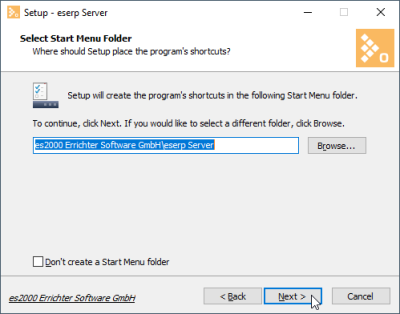
You can now create a shortcut for the esoffice Server in the Start menu. By default, a shortcut called eserp Server will be created in the folder es2000 Errichter Software GmbH.
You can use the Browse button to select a folder / shortcut, or you can enter it manually.
If you do not want to create a Start menu folder, activate the Don't create a Start Menu folder check box.
Click on Next.
-
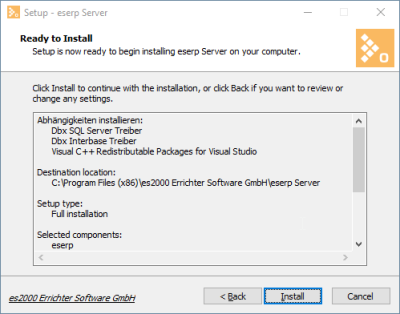
A summary of the installation settings is displayed. If all the settings displayed are correct, click on Install to start the installation.
-
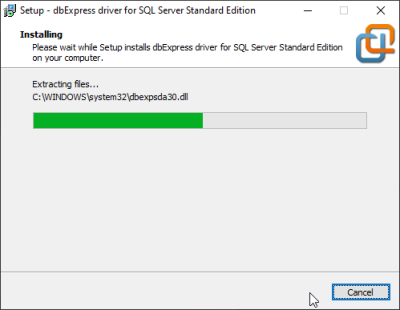
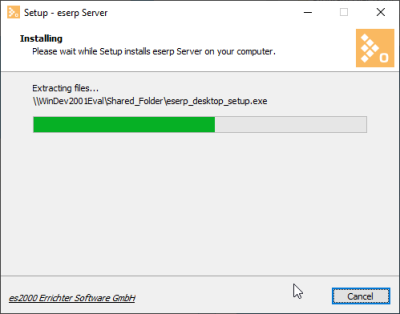
The necessary software components and drivers are installed first. If necessary, you will be asked to restart the system before the installation can be continued. Installation will continue automatically after a restart.
-
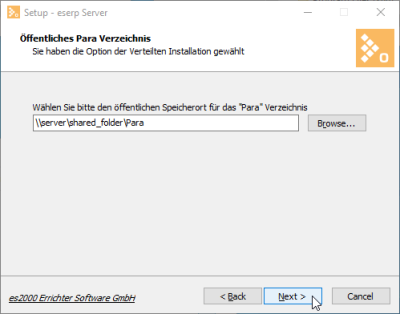
After the esoffice Server has been installed, a shared Para directory must be specified for the Deployment. You can use the Browse button to select a directory that you have already created and enabled for sharing.
The clients require read authorization for this directory in order to install the eserp Desktop application. The directory is also used for the updates for the eserp Desktop application.
when you click on Next, the files required for the installation of the eserp Desktop will be copied into the shared Para directory and the corresponding installation links created.
-
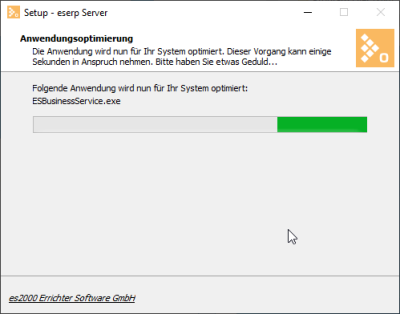
In the next step, the executable files will be optimized for your system. This may take some time.
-
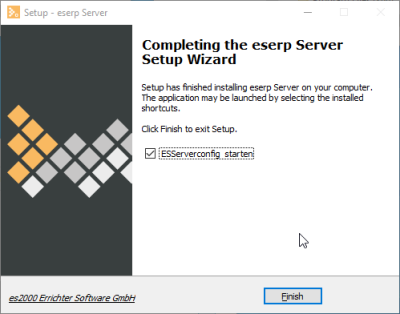
The installation process ends when optimization is complete. Click on Finish.
If you have activated the option Start ESServerconfig, the program for setting up the server services will start directly.
es Business Server configuration
-
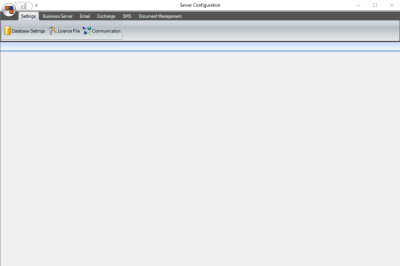
The server configuration program esServerConfig is started automatically by the installation wizard when the eserp server installation is completed.
Manual start
You can also start the program using the shortcut in the es2000 Errichter Software GmbH Start menu folder.

If personnel data and authorizations are already present in the database that is being used, log on as an administrative eserp User.
-
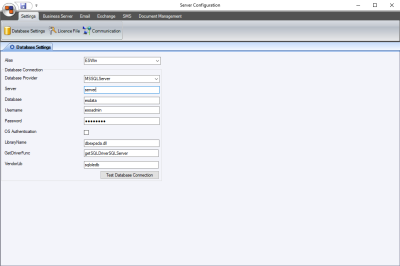
Click on Database settings in the Settings menu. The values read out from the database settings (dbxconnections.ini) will be displayed.
Click on the Test database connection button. The program checks whether the database settings are correct and that the database can be accessed.
Database cannot be accessed
If the database cannot be accessed, check the log in data and the network settings (port sharing, firewall settings, etc.)
-
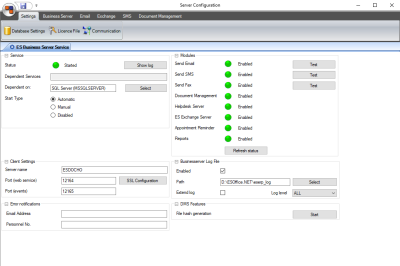
When the database connection is established successfully click on Business server in the menu.
-
Before installing the business server as a service, enter the server / PC name and configure the port for the web service using the SSL configuration button.
Select either an existing certificate for the server, or create a self signed certificate and tie it to the port for the web services. Close the SSL configuration window.
-
It is now necessary to select a local path for the Business Server log files in the Business Server Log File area.
-
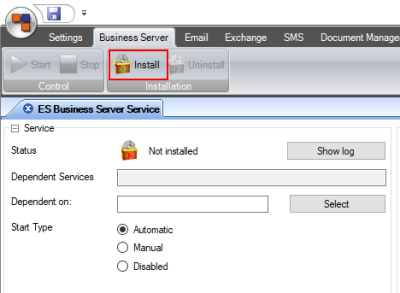
In the Installation area toolbar, click on the Install button.
-
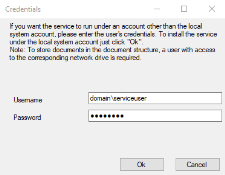
The Business Server service is started with a service user. This user should have the corresponding authorizations, see also eserp system requirements (EN).
Enter the prepared log in data for the service user and then click on OK.
Enter the prepared log in information for the service user and then click on OK.
- The service will now be installed. You can now specify the Start type. The Automatic option is recommended.
- In the Control area toolbar, click on the Start button.
- This completes the standard installation of the eserp Server.
