Download
esweb provides the facility for your own technicians as well as clients to download various files.
The stepr required for this are explained below.
Preparation
Prepare download statuses
The necessary download statuses are created in eserp under Settings | External programs | ES2000 | esweb | References | Download status.
Define the download statuses that are to be available. A download status is recorded for authorized clients in the eserp client master data on the Office | Clients | Details - 'Details' area tab.
The client will always have acces to the files that have a status less than or equal to the selected download status number.
Set up download or link to external URL
When corresponding download statuses have been entered here, you can specify the files intended for download using esweb.
Make file available for download
-
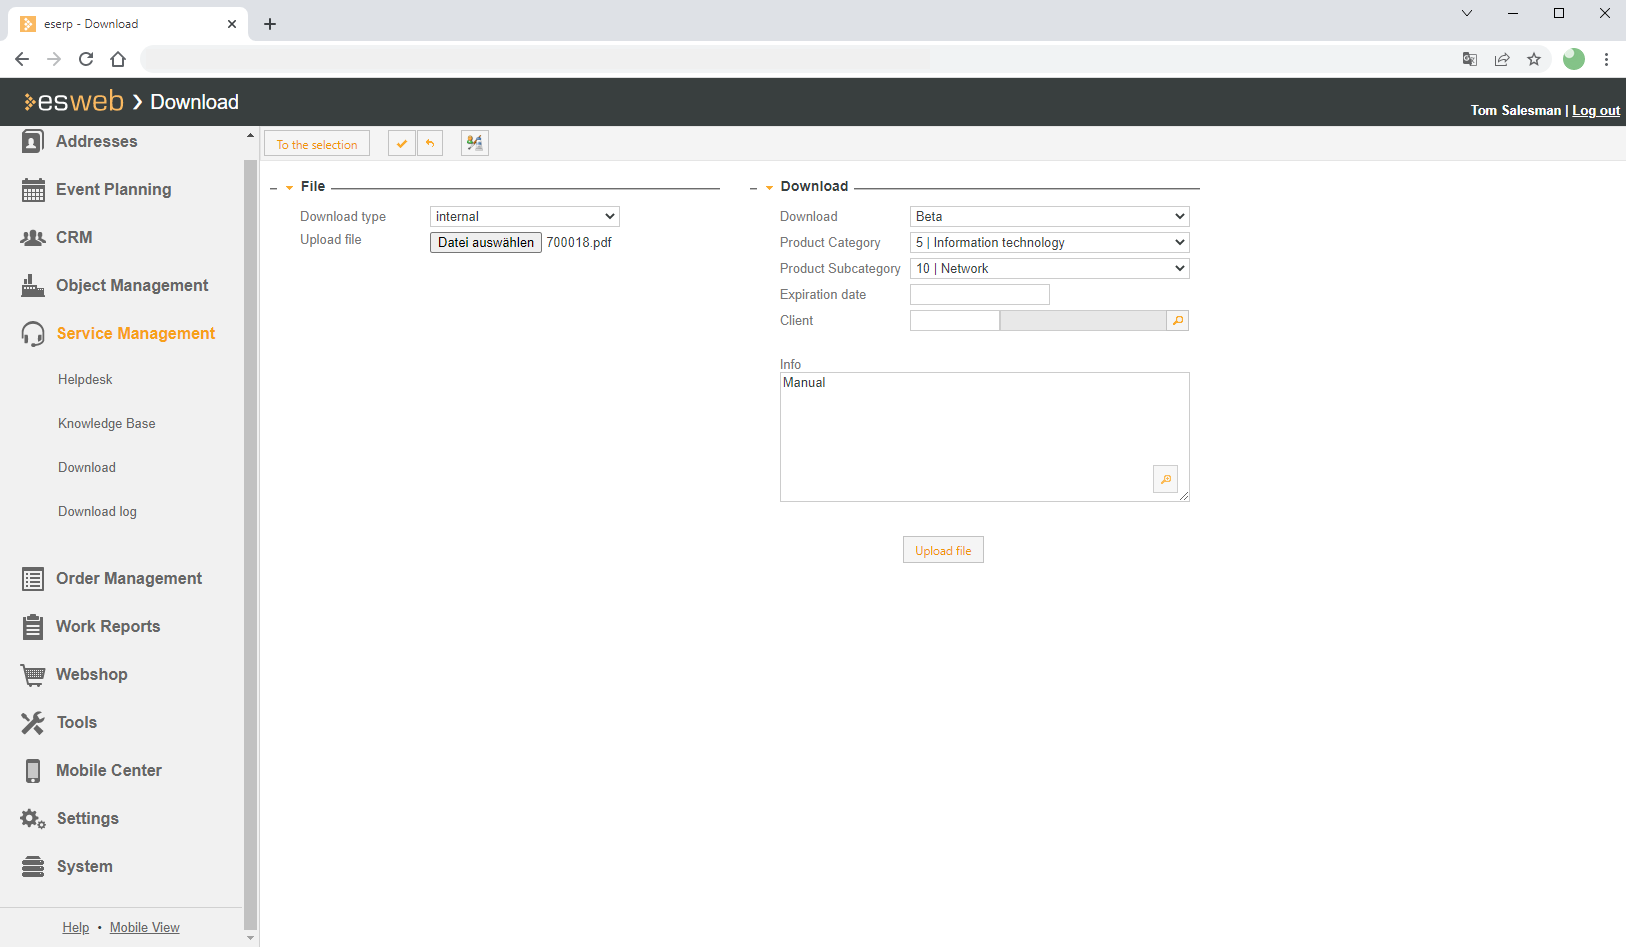
Select the Service management | Download menu command in esweb.
-
Create a new download entry using the
 button.
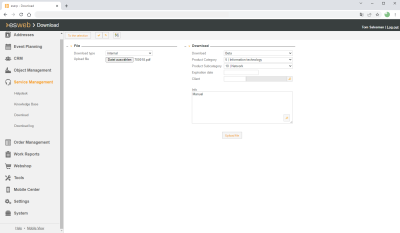
-
In the File area, specify the Download type.
Select Internal for a download that you want to make available through esweb, or External for a IRL that points to a file on another web page.
 Internal download type
If you select the Internal download type, you can specify the file for downloading using a file selection window that opens when you click on the Select file button.
After you select a file, the file name is shown on the right next to the button.
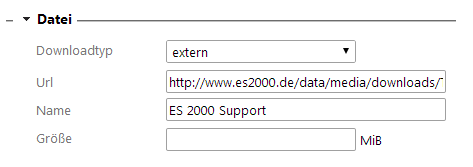
External download type
If you select the External download type, the display changes as follows:
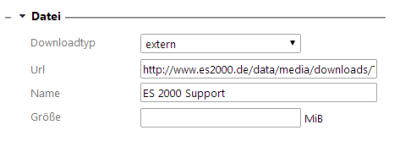
URL
The complete link to the desired external file including the protocol (http / https).
Variable
A name for this download link (this is displayed instead of the URL).
Size
If it is known, the size of the file can be entered here.
-
Specify further details about the download in the Download area.
Product category
This determines the supergrouping for the download file.
The product categories are defined in eserp under Settings | General | General | References | Product categories.
Product sub category
A further division of the product category under which you manage your downloads.
These are defined in eserp under Settings | General | General | References | Product sub categories.
The subcategories that can be selected will depend on the selected product category.
Download
The desired status from the Download status reference table.
The necessary download statuses are created in eserp under Settings | External programs | ES2000 | esweb | References | Download status.
Expiry date
Here you can define whether a download is no longer available at a certain time. When the download expires it will be removed from the downloads automatically.
Client
Select this if the download is only to be available to a specific client. The
 magnifying glass icon opens the selection list of clients that are shared with the esweb helpdesk.
Info
You can enter a text here that is additionally displayed when the file is downloaded.
-
When all the desired entries have been made, the settings are applied by clicking on the Upload file (for Internal download type) or Save URL (for External download type).
-
The list of available downloads is displayed by clicking on the For selection button. The display here is approximately the same as what your client will see.
Display downloads
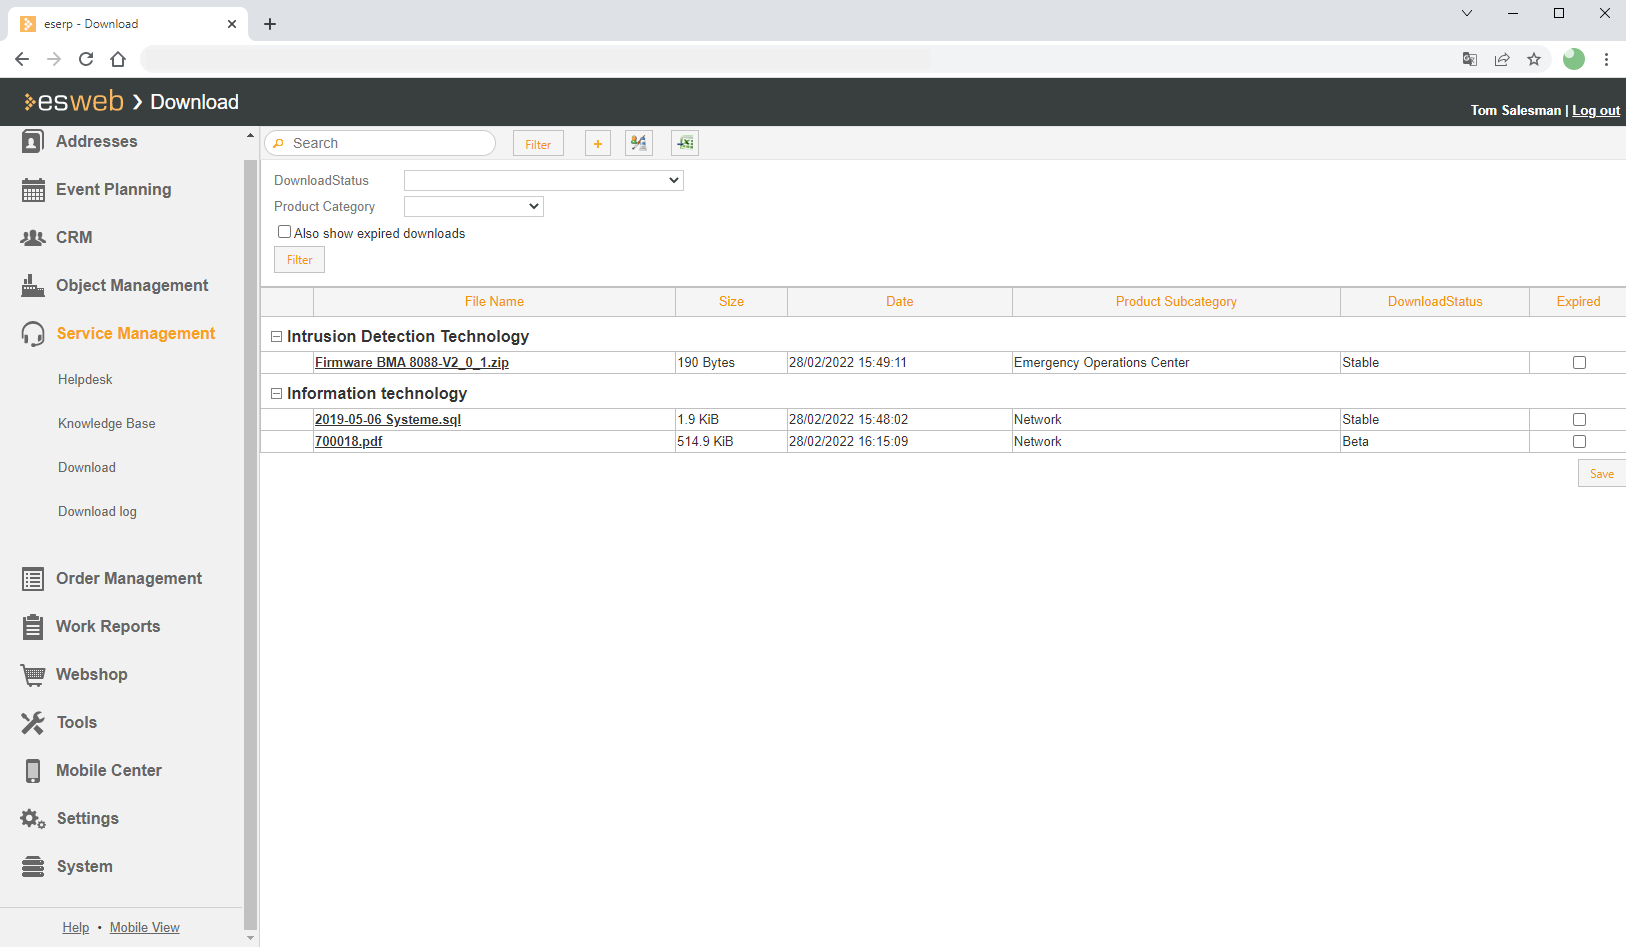
Subquery
The Filter button in the toolbar shows / hides an area with filter settings. The display of downloads can be restricted using the filters.
Product category filter
You can restrict the view to the downloads in a specific Product category or Product subcategory using these filters. The filter is activated by clicking on the Filter button.
Show expired downloads
The Show expired downloads option is not visible to clients. This also displays the downloads that are no longer active in the meantime.
If you activate the Expired option next to a download entry, this download will be removed when you click on the Save button. This function corresponds to the Expiry date field.
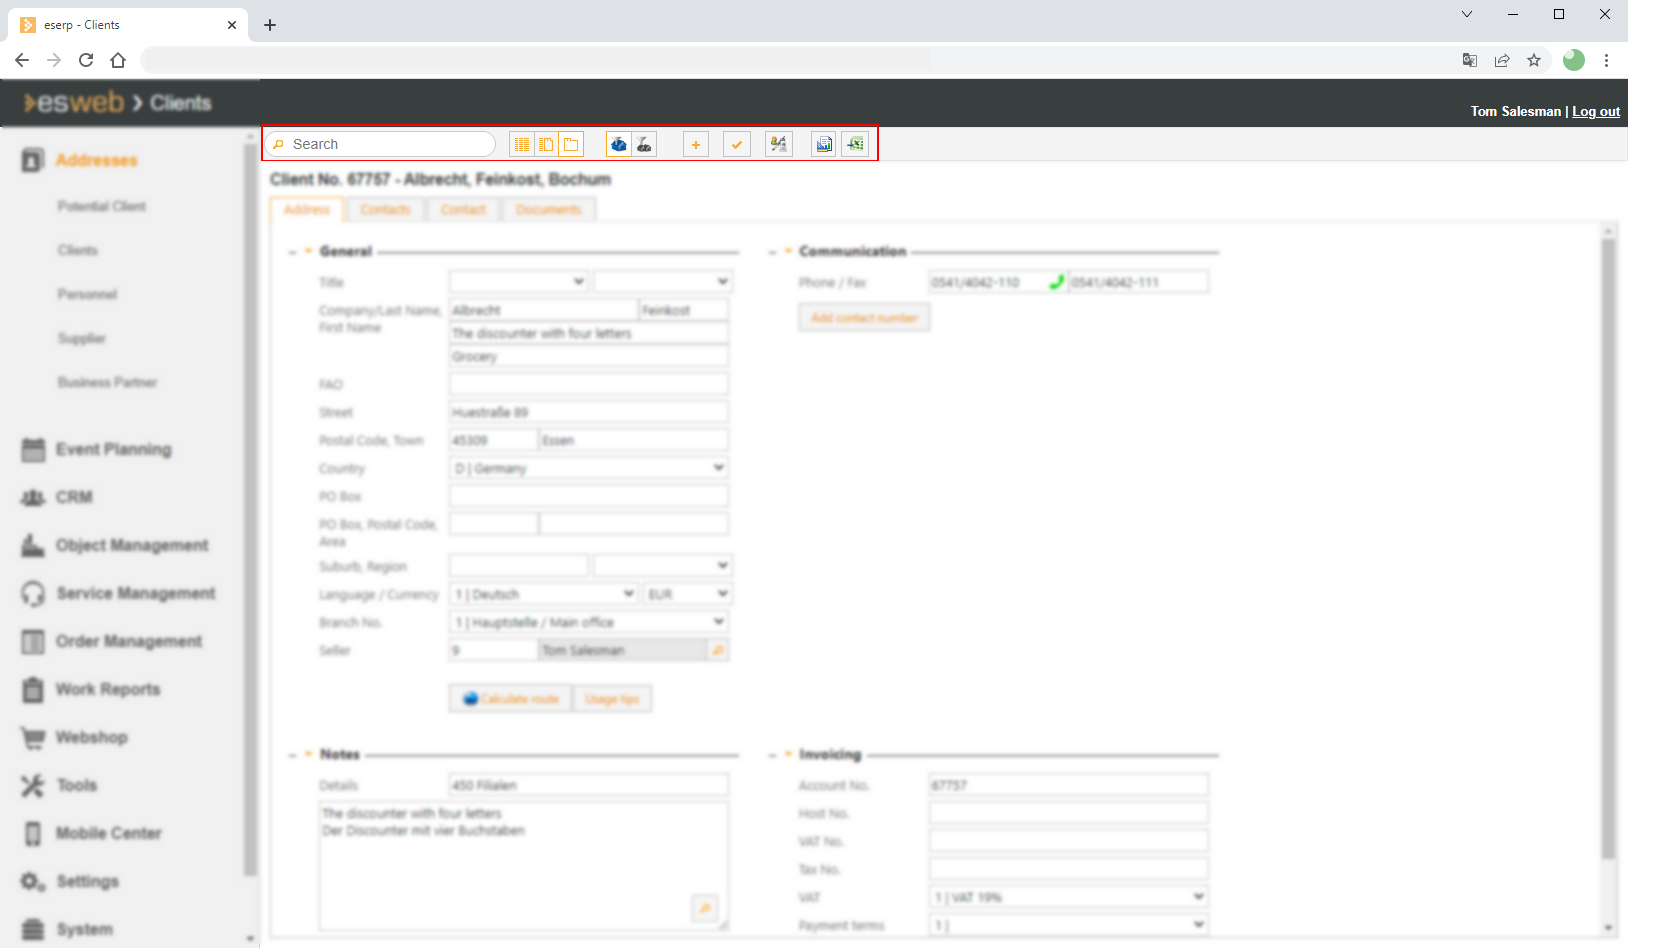
Further settings
You can specify the status of the documents that the client is to have in eserp under Office | Clients | Details - 'Details' area.
The client will always have acces to the files that have a status less than or equal to the selected download status number.
Downloading a file (client)
Downloading a file would now look something like this:

This window will display an additional Liability notice text if the download is from an External link.
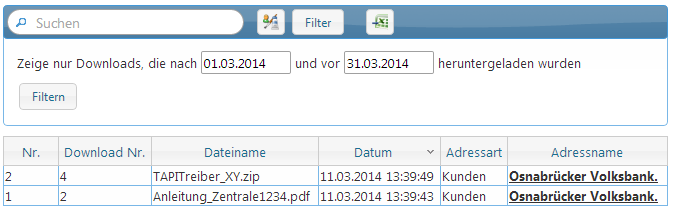
Download log
You can view a download log with your login to esweb that gives you an overview of the downloads made by this client or other clients as well as your employees.
Various functions are provided in the toolbar / menu bar.
Not all of the functions will be available in every module.
Icon meanings

 Search function
Full text search in all displayed fields. The search starts as soon as the first character is entered.
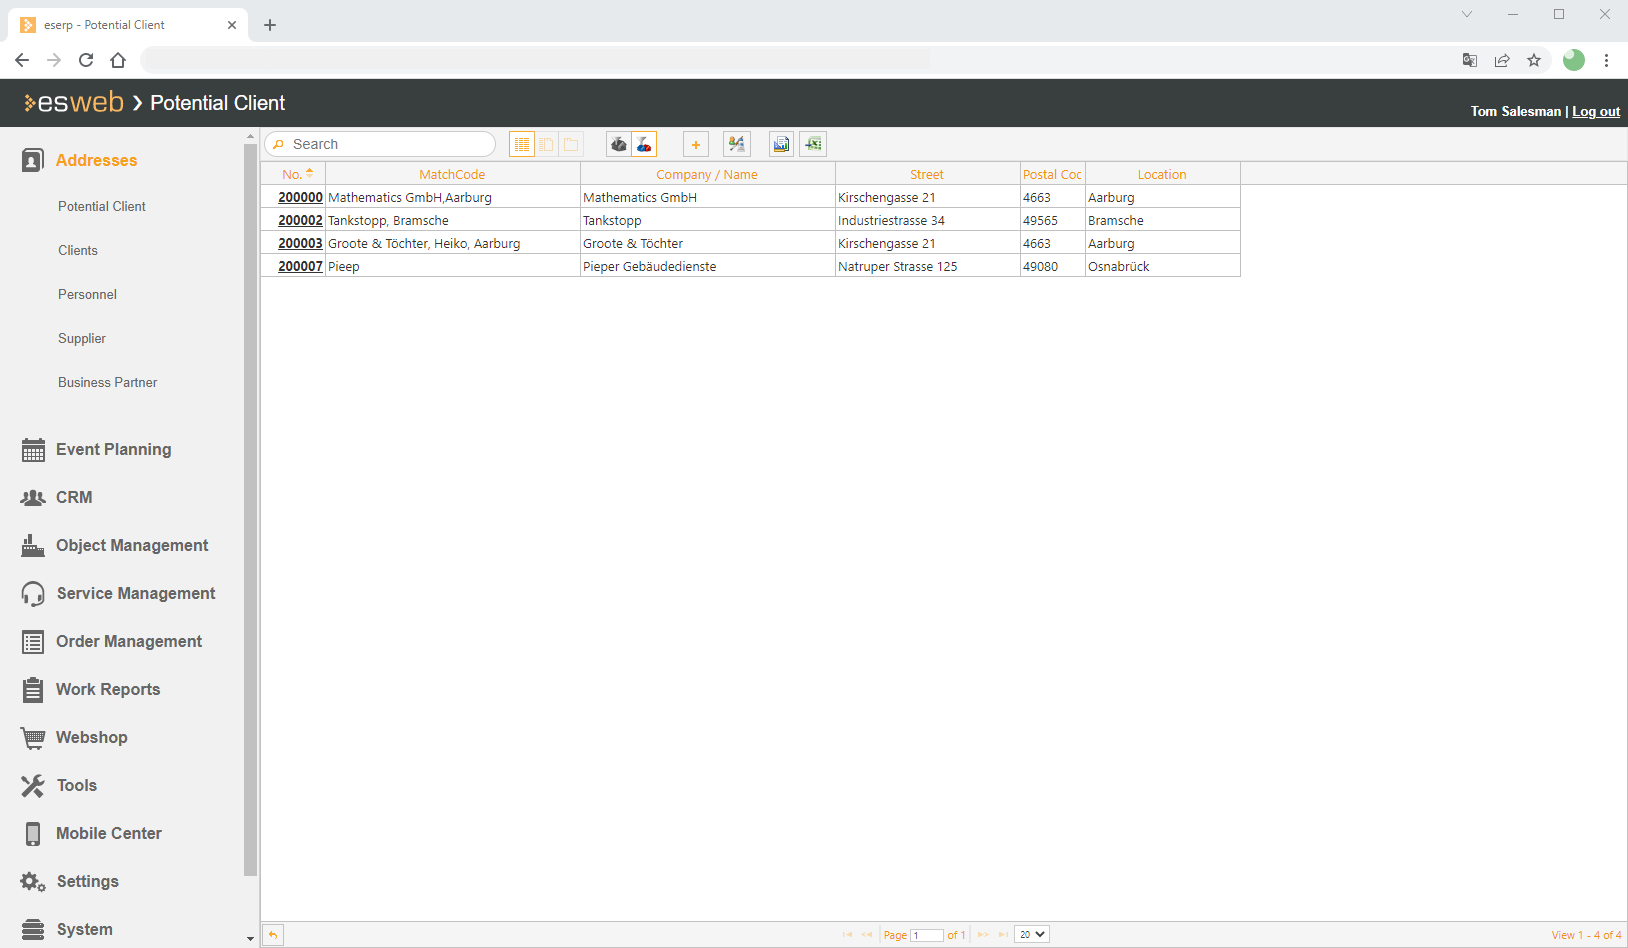
 Layout: Table view (grid)
Displays the data sets as a table view.
 Layout: Table (grid) and details
Displays the data in a compact table view on the left and the marked data set in the detail view.
The detail view will display different tabs depending on the data set. The data is arranged on these tabs by topic.
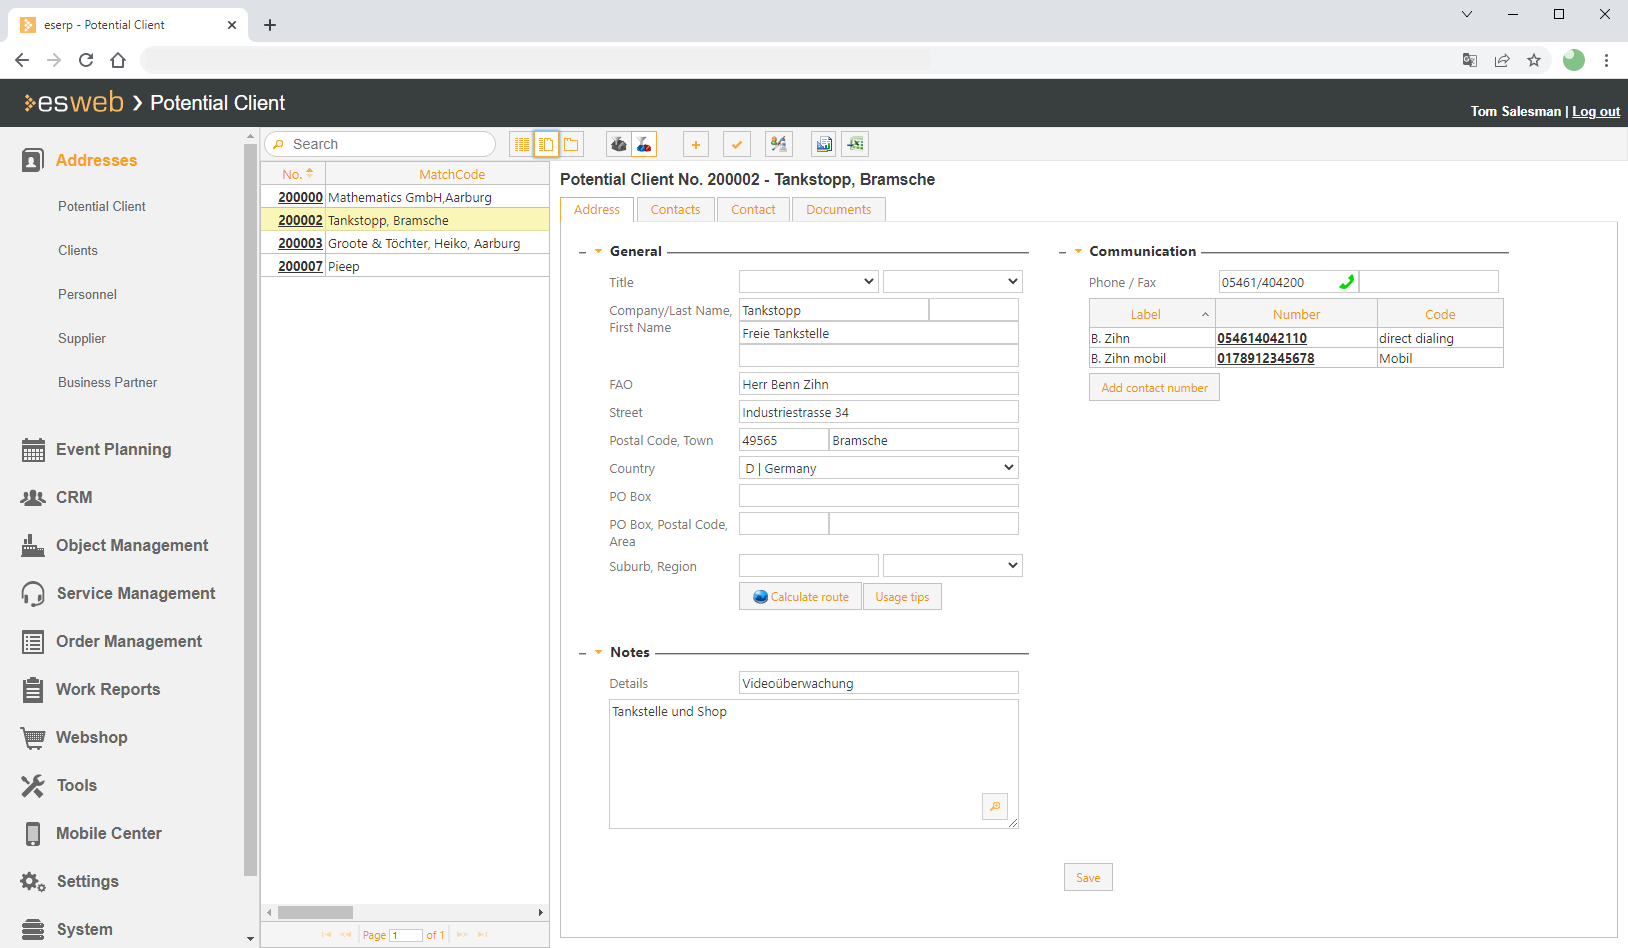
The data in a data set can only be edited in the detail view.
 Layout: Detail view
Displays one data set as a detail view.
The detail view will display different tabs depending on the data set. The data is arranged on these tabs by topic.
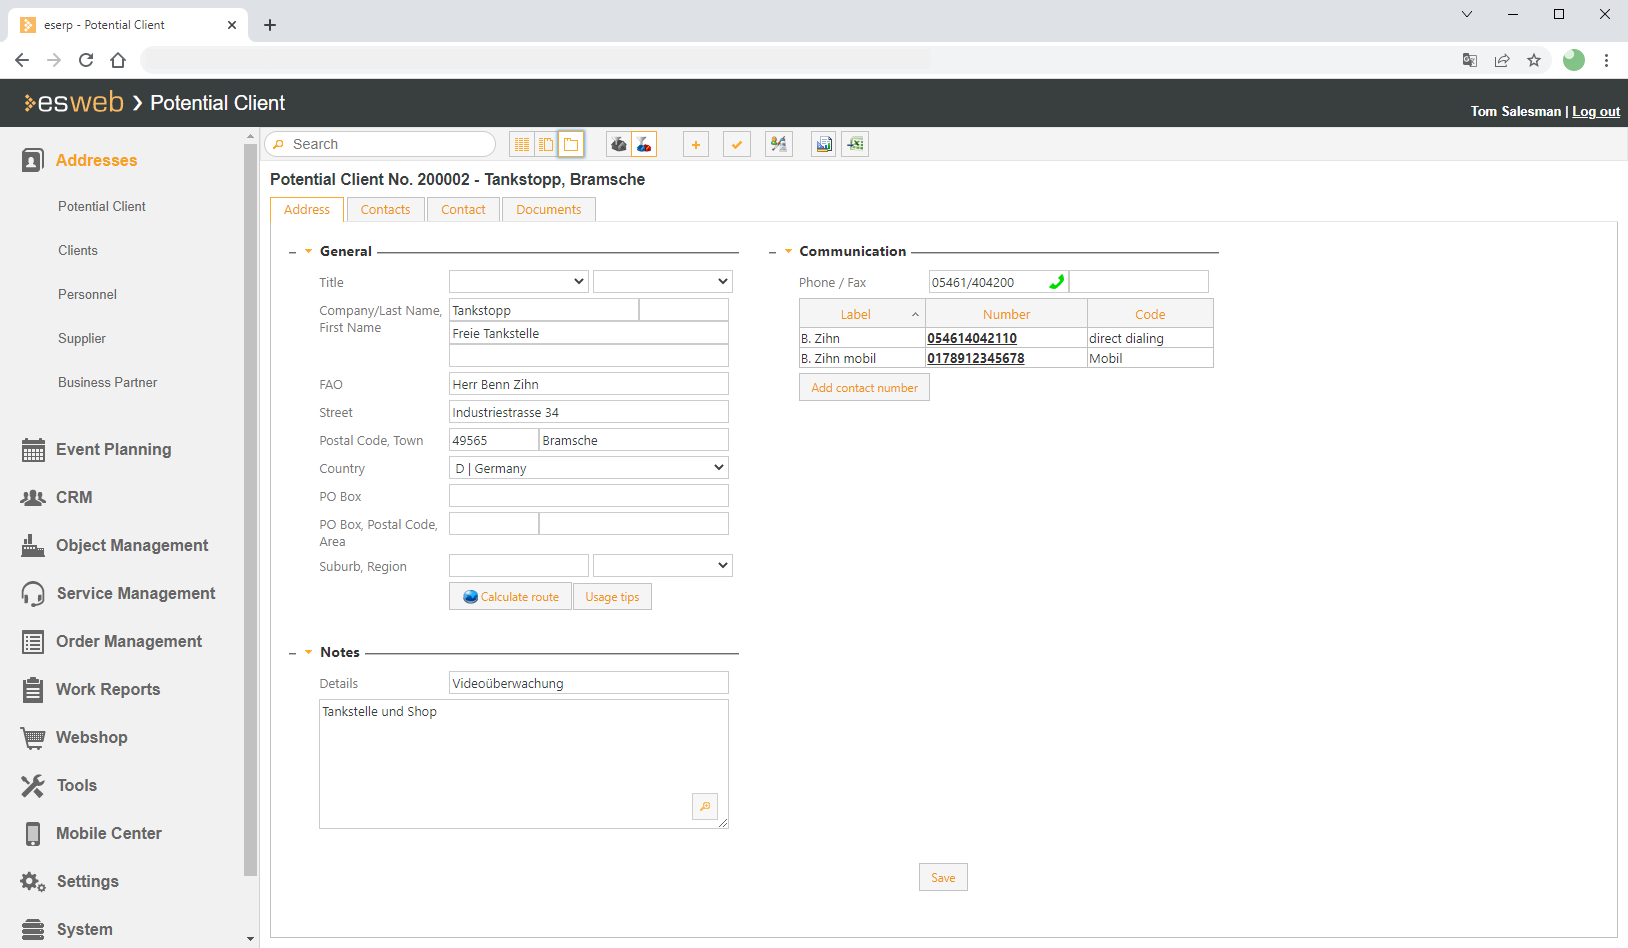
The data in a data set can only be edited in the detail view.
 Office branch filter: Current office branch
The office branch filter is shown if you have a license for the optional Office branches module.
Also see Office branches
General | Office branches | Office branches authorization is required for display of the office branch filter.
General | Office branches | View all office branches authorization is required to view all office branches.
If this filter is activated, only those data sets that are assigned to the current office branch will be displayed.
The basic function of the office branch filter is described under Office branch filter.
 Office branch filter: Own office branches
The office branch filter is shown if you have a license for the optional Office branches module.
Also see Office branches
General | Office branches | Office branches authorization is required for display of the office branch filter.
General | Office branches | View all office branches authorization is required to view all office branches.
If this filter is activated, only those data sets for all the office branches assigned in the personnel master data to the logged in user will be displayed.
Also see
-
Assign main office branch
eserp - Office | Personnel | Details I - 'Office branches' area
-
Assign further office branches
eserp - Office | Personnel | Details I - 'Other office branches' table
The basic function of the office branch filter is described under Office branch filter.
Create new record
Creates a new data set, for example a new client or potential client.
The display switches to the detail view so that you can enter the data, and a unique number is drawn from the number ranges for the data set.
The number range code used will depend on the type of data set that was created.
The KUN number range is used for clients.

 Save data set
Saves the changes made in the data set currently open for editing, including newly created data sets.
A check is made to see that all the necessary fields (Required fields) have been completed.
If data is missing from the required fields, the data set cannot be saved and a corresponding message is displayed.
 Edit layout (customizing)
The optional esweb Customizing module allows you to adjust the forms in esweb, for example by hiding fields or moving them to a different position.
It is also possible to adjust the table view (grid) by showing / hiding columns, changing column headers and the column order.
You can find more information on this under Customizing (edit layout).
 Report (print)
Enables printout of data using previously assigned Microsoft Reporting Services (MSRSS) reports.
Reports must be registered for the corresponding entry points in eserp for reports to be used.
Also see eserp - Settings | General | Reports | References | Registration.
 Resolve call
Service | Help desk | Solve service calls authorization is required to use the Resolve call function.
You can set a service call to solved using the Resolve call button, which therefore stops both the clocks. You can use this function if you have Solve service call authorization and the service call has a status that is less than solved.
 Close call
You can close a completed service call using the Close call button. This assigns Completed status to the service call, which will no longer be displayed in the normal task list.
Service | Help desk | Close service calls authorization is required to complete a service call.
This button is enabled if the service call status is greater than or equal to Solved and less than or equal to Completed.
Also see Service call status
 Approve
Use the Approve button to approve a leave request.
If at least one approval but not all approvals have been given for a leave request, the request will be given Partial approval status.
When the final approval is given by a group, the request is approved and will be entered as an appointment in the calendar.
However, this final approval can only be given if an activity type for Leave has been recorded with a value greater than zero (> 0) under Settings | Office | Appointments / Tasks | 'Activity types' area. If not, final approval cannot be given.
Office | Personnel | Leave requests - Withdraw or Office | Personnel | Leave requests - Withdraw only awaiting approval authorization is required to withdraw leave requests.
 Deny
Deny
Leave requests can be denied using the Deny button. A leave request can only be denied by a member of an approval group if the request has not yet been fully approved.
If a leave request has been approved by the member of an approval group, the request cannot be denied any more by a member of this group. If the leave request is to be denied, it is first necessary to withdraw the approval and then deny the request in a second step.
If the leave request has been approved completely by all approval groups, denial is no longer possible.
 Withdraw
Fully approved leave requests can only be canceled by members of the approval groups. An approved leave request can only be withdrawn if the starting point of the leave is in the future. (Day taken).
Use the Withdraw button to withdraw a leave request.
If a leave request is withdrawn, the corresponding entry in the calendar is deleted.
Office | Personnel | Leave requests - Withdraw or Office | Personnel | Leave requests - Withdraw only awaiting approval authorization is required to withdraw leave requests.
 Export
It is possible to export the data that is displayed in various lists in esweb. Various formats can be selected for this.
This function can also be used in connection with filters so that you can export very specific information.
Use the Activate export function option under Settings | General | Parameter - General area in the esweb settings to specify whether the export function is displayed in esweb.
This is described under Excel export