Documents
You can access files / documents from the DMS for the particular address / process on this Documents tab.
DMS | View documents authorization is required to view documents.
If the process involves an address (Client, Potential client, Vendor, etc.), all the document versions where the process can be assigned to this address (for example: all the documents for a service order that belongs to a particular client) will be displayed on the Documents tab sorted according to process type and time.
If the process does not involve an address (for example: a service order), only those documents that are directly assigned to this process type (example process type: Service order) and this particular process (example: Service order no. 23461) will be displayed on the Documents tab.
Process type Address
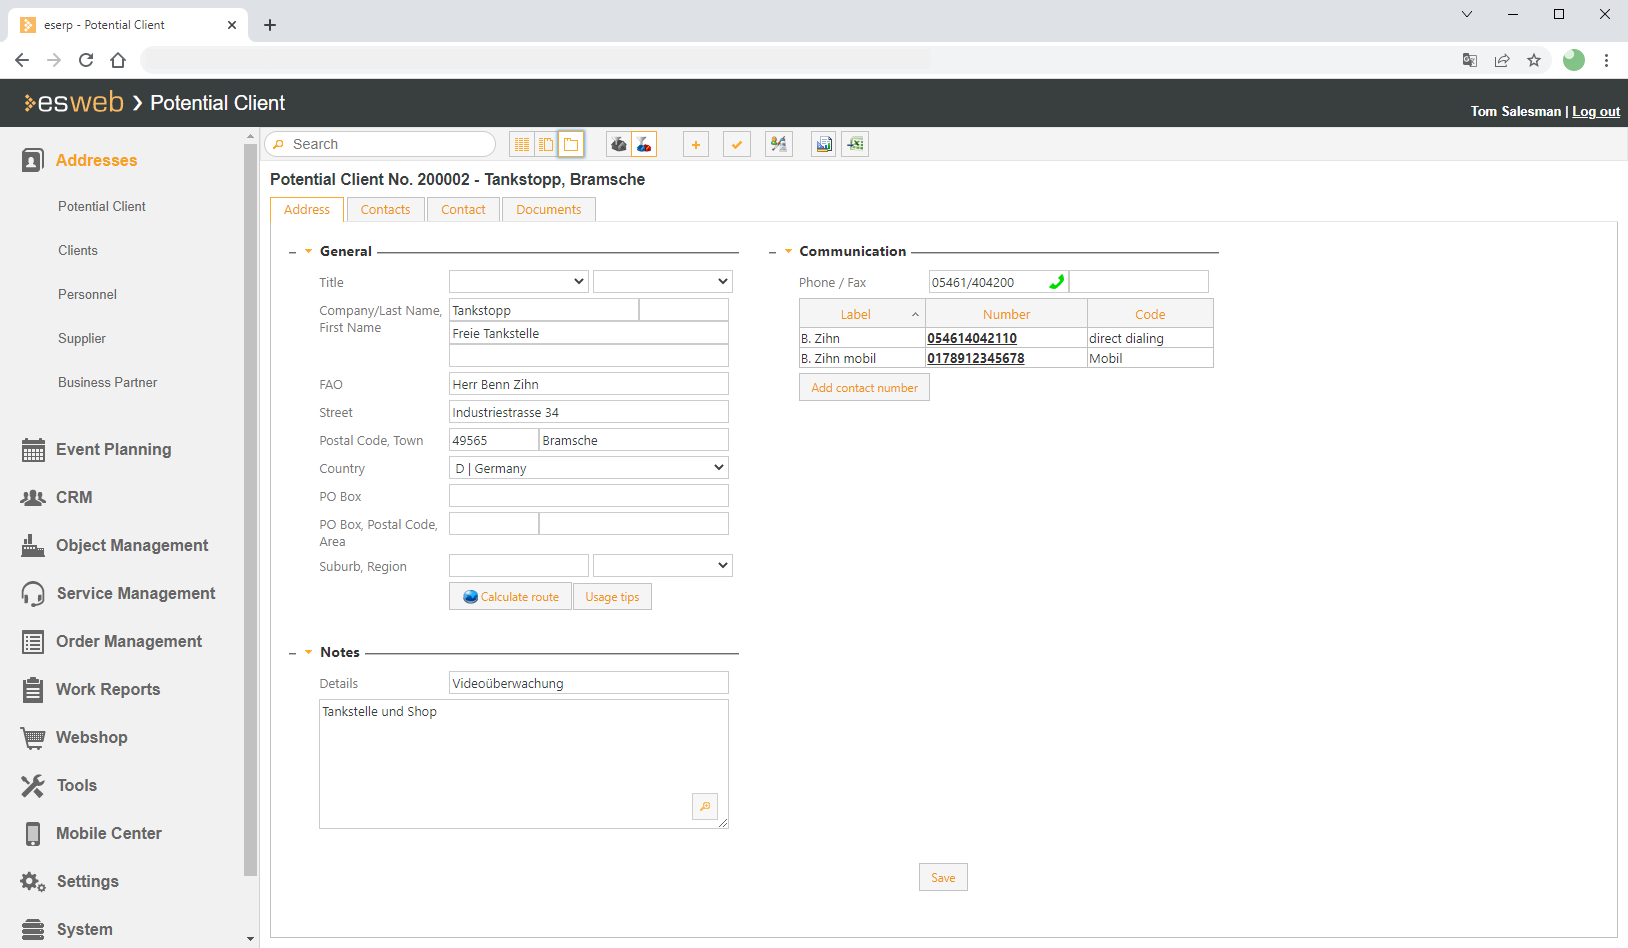
The Documents tab for file management is displayed within the detail forms for the individual address types (Clients, Potential clients, Vendors, etc.) in eserp.
On the tab, the separate document versions are shown in a file tree structure. The file tree is made up from the separate possible process types for this address type in eserp.
You can display, for example, all the offer documents for a Client by clicking on the Offer folder in the directory tree. Only the document versions that are assigned to a process for the address will be displayed.
An example to explain the background: Different versions of a document containing procedural instructions for restarting an alarm system or a telephone system can have been sent to different clients from different service calls made to the Help desk. However, the user is only interested in seeing the specific version that was sent to a client at a particular time, X.
The Miscellaneous folder is a special case, however. You can save documents to this folder that do not have an explicit process assignment. Only the address as such is assigned as a process to the document. Additional sub folders can be added to the Miscellaneous folder using the Document management settings.
Other processes with DMS filing
If the process in which the document management is displayed does not involve an address, only the files that are directly assigned to this process will be displayed in the directory tree on the Documents tab.
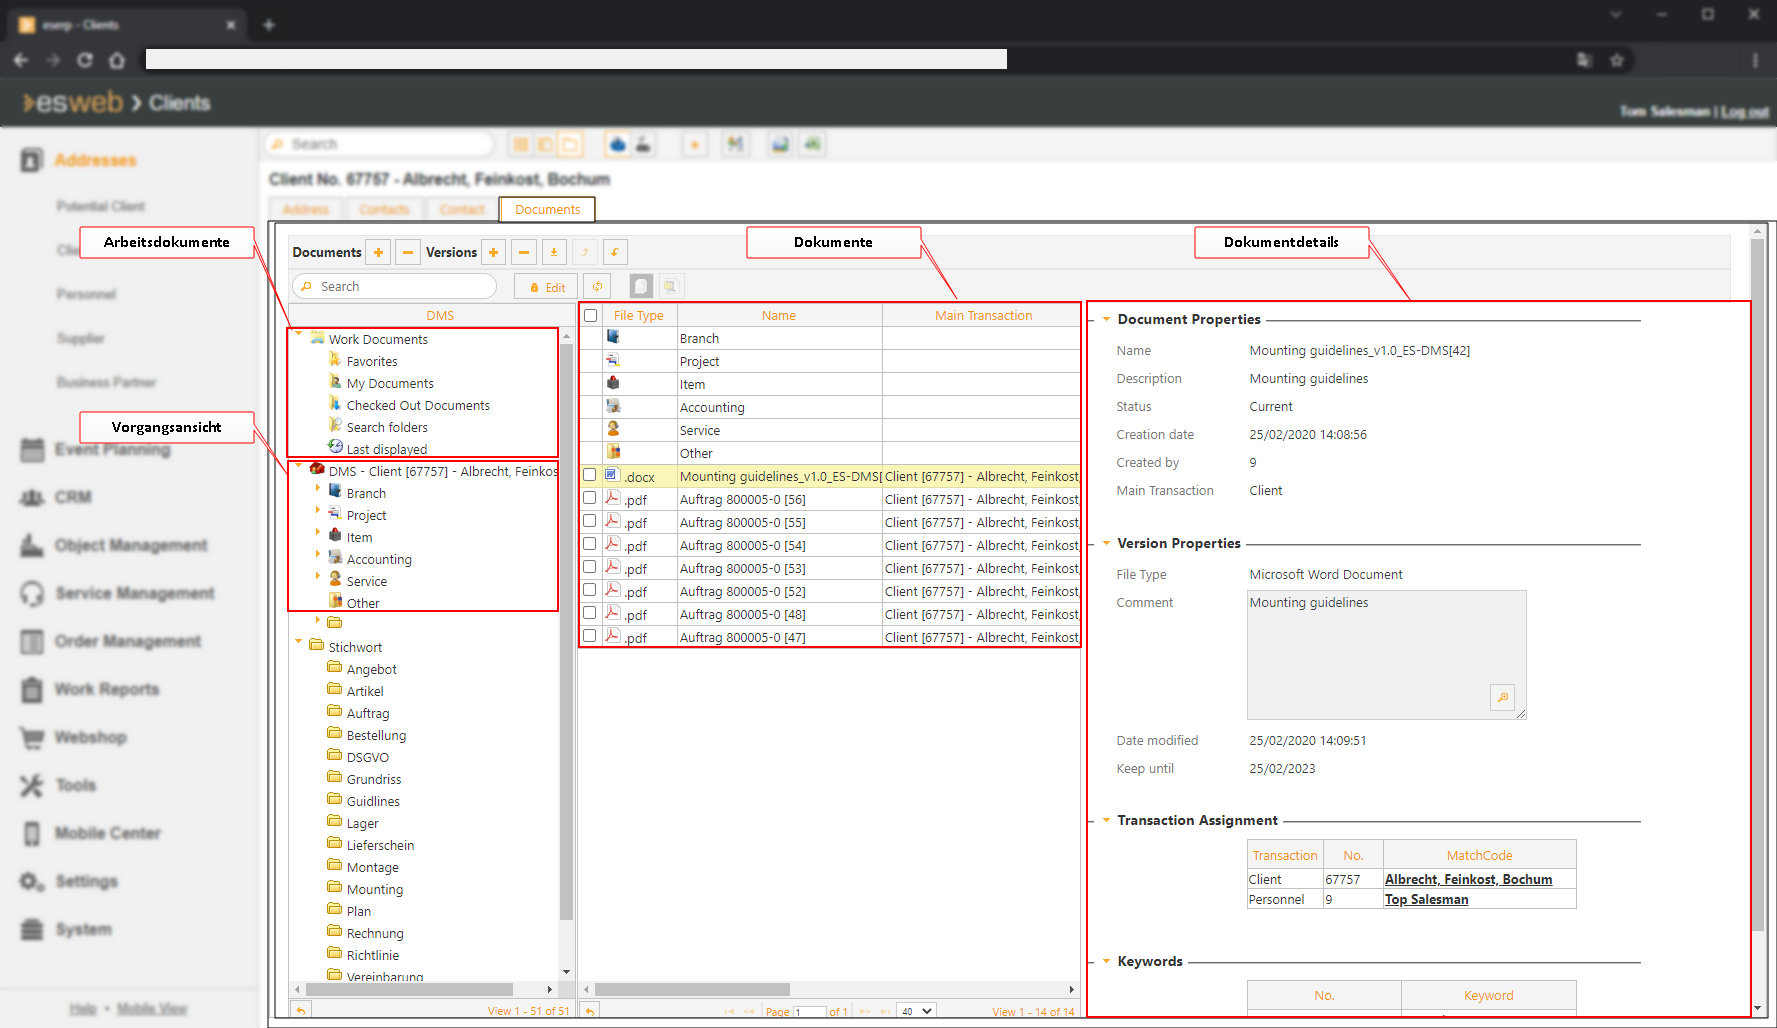
Areas
The Documents tab is divided into different areas.
The focus is on the grouped display of documents versus time for each process type.
Working documents
The following areas are part of the working documents:
Favorites
Shows all documents that have been saved as Favorites. You can add documents as Favorites or remove them from the Favorites using the context menu (right click on the document or document version).
My documents
All the documents or versions of a document created by the current user.
Checked out documents
All the documents that were checked out for editing by the current user are shown in this folder.
Search folder
Displays all the document versions that were opened, saved locally, or checked out in the Search dialog.
Last viewed
Displays all the document versions that were last opened from the document management system.
Process view
All the documents for the particular process type are grouped according to the relative process number at the separate nodes of the process view. If a process type has a sub folder, the directory tree is kept and the documents in it are shown grouped on the time axis.
Document
A document possesses the following properties: Document name, author, creation date, file size, etc. There can be different versions of each document. Each version can be assigned to different processes.
Sub folders that are on the same level as the document versions can also be shown in this area.
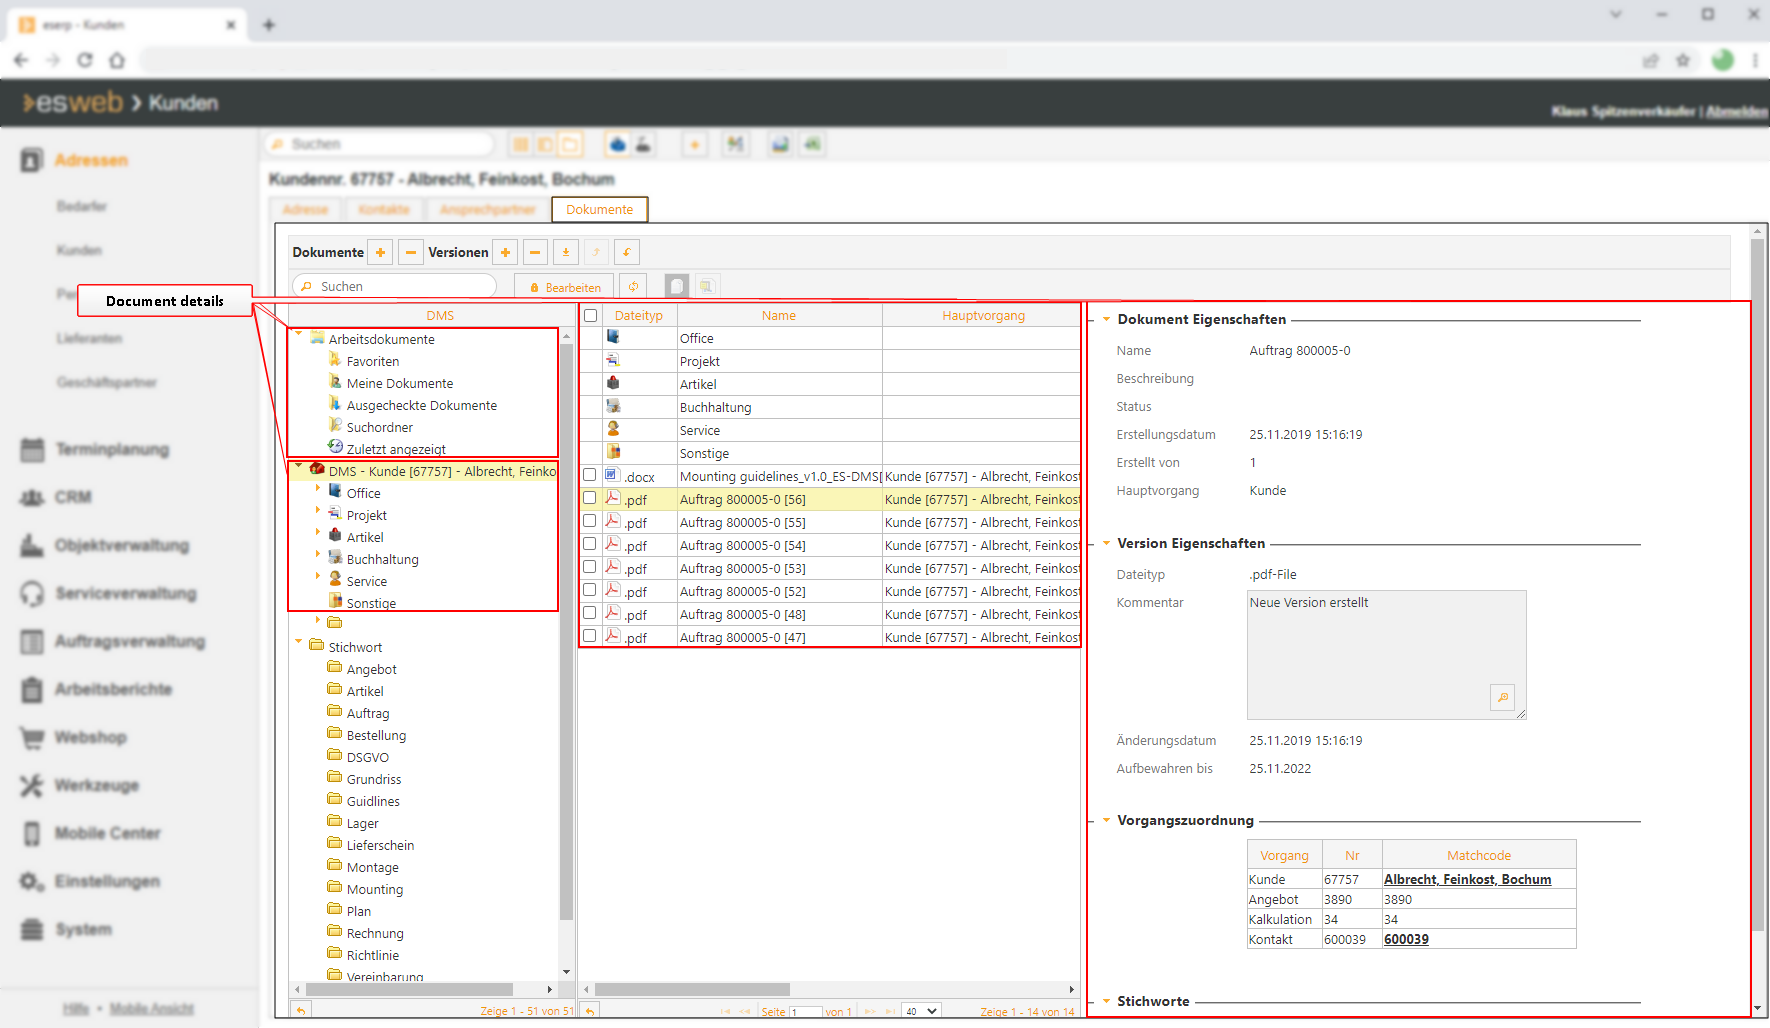
Document details
The document details are subdivided into the areas Document properties, Version properties, Process assignment, and Key words.
Click on the Edit button to edit the document details. Click on the Edit button again to close Edit mode. The padlock icon on the Edit button indicatesi f the document details are in Edit mode.
DMS | Edit documents authorization is required to edit documents.
 The document details are locked against editing.
 The document details can be edited (Edit mode).
Document properties
The document properties of the selected document, such as the name, description, and creation date, are shown here.
The properties can be edited in Edit mode.
Also see Document status.
Version properties
You can save as many versions of each document as you want. The properties of each version are shown in this area.
The properties can be edited in Edit mode.
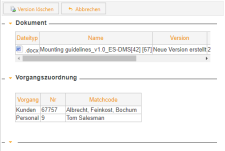
Process assignment
The processes to which the document is assigned are listed in this area. The matchcode for processes that can be opened via a link is shown underlined.
You can delete individual process assignments in Edit mode.
You can assign additional processes using the Add button in Edit mode.
Key words
You can assign as many key words as you want to a document. The assigned key words are listed in this area.
You can delete / add key words in Edit mode.
Also see Keyword.
Search bar
The search bar allows document versions to be found more quickly.
Functions / Toolbars
Various functions are provided in the toolbars (ribbons / ribbon bars) above the tabs.
The toolbar structure depends on the current module / tab.
Some toolbars are only shown when you edit certain fields, such as the Text toolbar when you edit rich text fields.
/ Edit
Click on the Edit button to switch the document details of the selected document to Edit mode.
The usual Input elements are available in Edit mode.
Changes can be undone by clicking the  Reject changes button as long as input has not been actively saved or the form has not been closed or the data set changed.
 Apply
Apply
You can always actively save changes in the data by clicking the Apply button.
Reject changes
Changes can be undone by clicking the Reject changes button as long as input has not been actively saved or the form has not been closed or the data set changed.
 Show all versions
The last version of a document is always shown by default. To display all the versions, click on the button (Show all versions).
 Download
If you want to download several files at the same time, activate the checkbox in front of the corresponding documents / versions, and click on the Download button.
The selected files can then be saved locally as a compressed ZIP file.
'Documents' area
 Add document
DMS | Add new document authorization is required to add a new document.
-
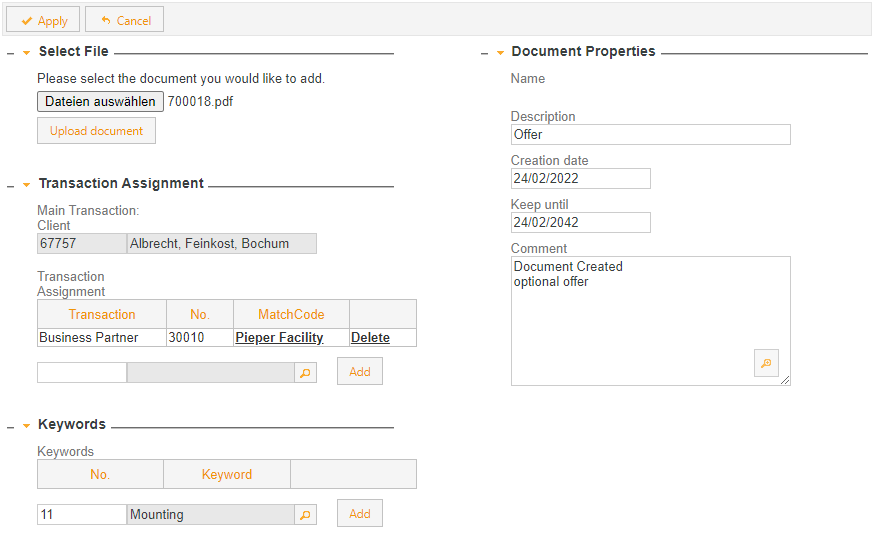
To create a new document, select either the process folder or the Miscellaneous folder.
-
In the Document area, click on the
Add document button. The Create new document window opens.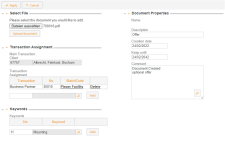
-
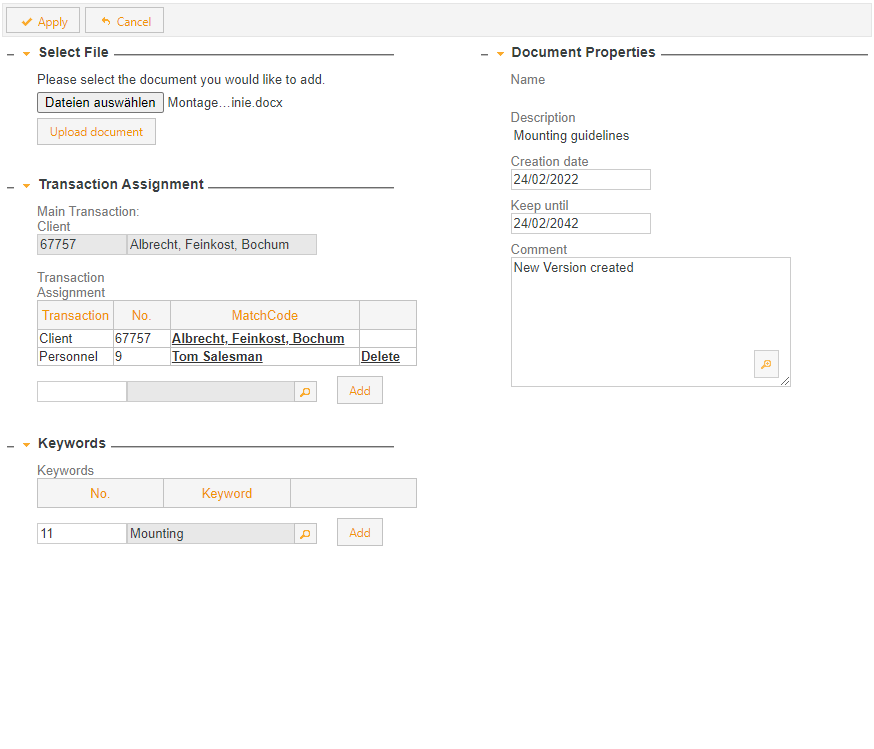
Select a document using the Select document button.
A file selection window opens. You can select a file from the local file system.
-
Specify the Document properties.
-
Assign appropriate key words to the document.
Also see Keyword.
-
The Process assignment has a direct relationship to the document version. The main process is added automatically from the context in which the document was created.
-
To insert the selected document click on the Upload document button.
-
When the document has uploaded, click on the Apply button.
 Delete document
DMS | Delete document authorization is required to delete a document.
Only the user who created the document or the document version can delete the document or version.
-
Select the document to be deleted.
-
In the Document area toolbar, click on the
Delete document button. -
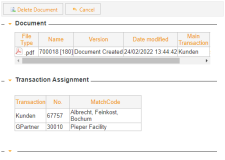
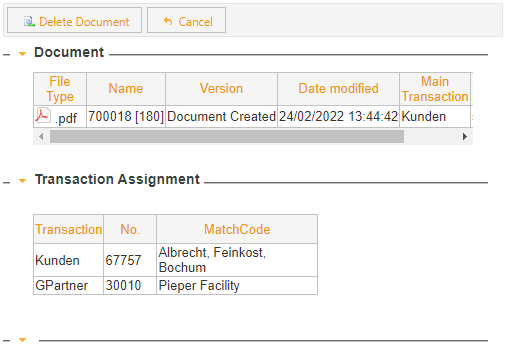
An overview of the document with the corresponding processes is displayed as a check.
-
To finally delete the document, click on the Delete document button.
If a version of the document is checked out, it cannot be deleted. The version must be checked in before the document can be deleted.
'Versions' area
Add version
DMS | Add new version authorization is required to add a new version of a new document.
-
To add a document version, select the particular document.
-
In the Versions area, click on the
Add version button. The Add version window opens. The document properties of the original document are used.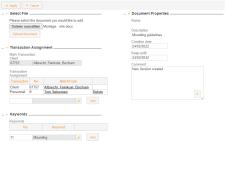
-
Select a document using the Select document button.
A file selection window opens. You can select a file from the local file system.
-
The document properties are already predefined when a version is added and cannot be edited here. However, version properties and their process assignments can be specified.
-
Assign appropriate key words to the version.
Also see Keyword.
-
To insert the selected document click on the Upload document button.
-
To insert the document version click on the Apply button.
Delete version
DMS | Delete document authorization is required to delete a document version.
Only the user who created the document or the document version can delete the document or version.
-
Select the version to be deleted.
You can display all the document versions using the
(Display all versions) button. -
In the Versions area toolbar, click on the
Delete version button. -
An overview of the document with the corresponding processes is displayed as a check.
-
To finally delete the version, click on the Delete version button.

Requirements for deleting a version:
- The document version is checked in.
Only the user who created the document or the document version can delete the version.
 Download version
A document version can be saved locally by downloading it from the DMS and saving it.
You can also use the Check out / Check in function if the downloaded document is to be edited and then uploaded again.
The relationship to the process is preserved using this method.
-
Select the document.
-
Click on the
Download version button. -
A file selection dialog opens for you to specify the local storage path. You can edit the file name before saving the file.
 Check out version
You can check out a document for editing using an external program. After editing, the document can be checked in again as a new version.
-
Select the version to be checked out.
You can display all the document versions using the
button. -
In the Versions area toolbar, click on the
Check out version button. -
Specify the path and file name for saving the checked out document
 Check in version
You can check out a document for editing using an external program. After editing, the document can be checked in again as a new version.
-
Select the version that was checked out earlier.
You can display all the document versions using the
button.The Checked out documents (Working documents) folder gives an overview of all the documents / versions that are checked out.
-
In the Versions area, click on the
Check in version button in the toolbar. The Add version window opens. The document properties of the original document are used.
-
Select a document using the Select document button.
A file selection window opens. You can select a file from the local file system.
-
The document properties are already predefined when a version is added and cannot be edited here. However, version properties and their process assignments can be specified.
-
Assign appropriate key words to the version.
Also see Keyword.
-
To insert the selected document click on the Upload document button.
-
To insert the document version click on the Apply button.
Various functions are provided in the toolbar / menu bar.
Not all of the functions will be available in every module.
Icon meanings

 Search function
Full text search in all displayed fields. The search starts as soon as the first character is entered.
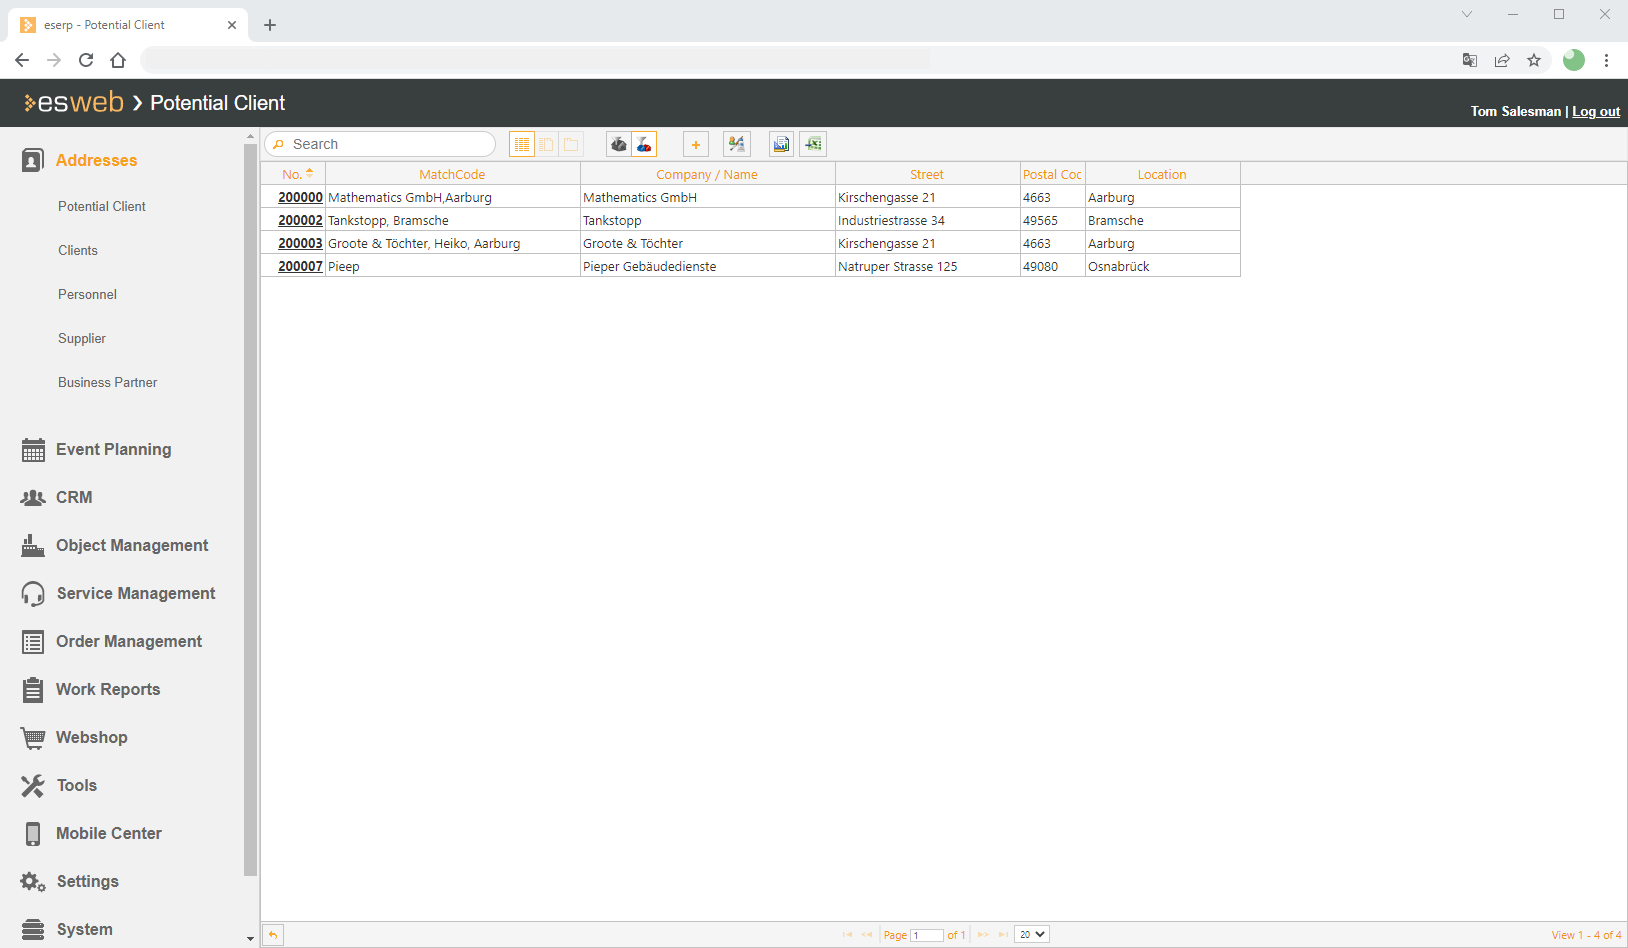
 Layout: Table view (grid)
Displays the data sets as a table view.
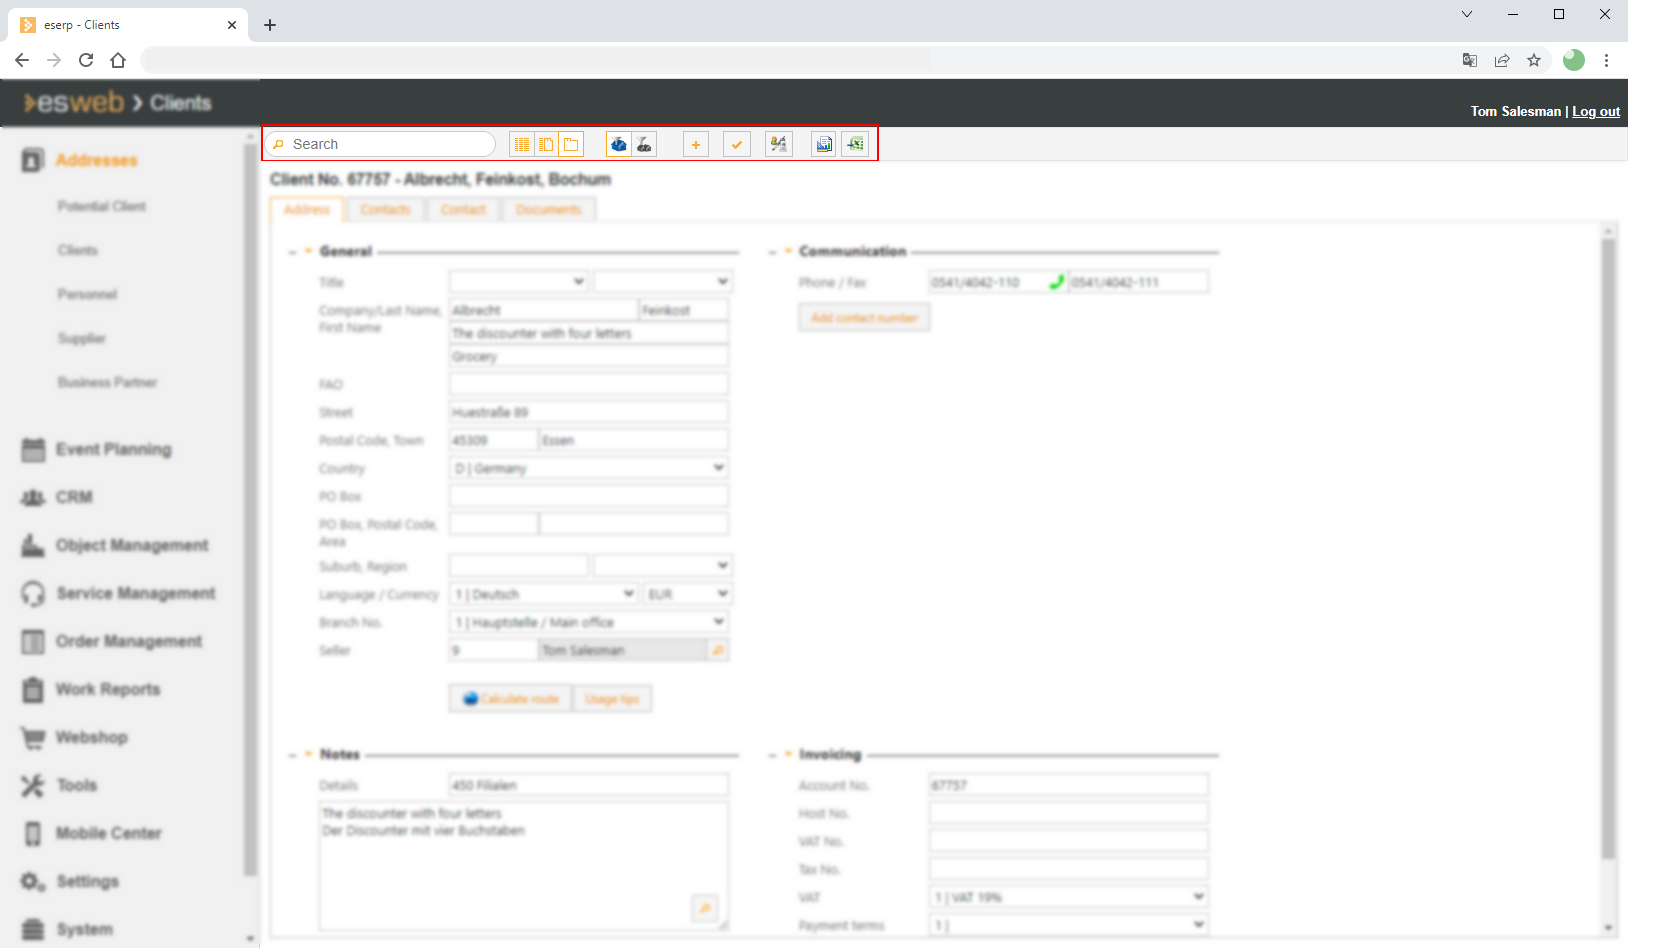
 Layout: Table (grid) and details
Displays the data in a compact table view on the left and the marked data set in the detail view.
The detail view will display different tabs depending on the data set. The data is arranged on these tabs by topic.
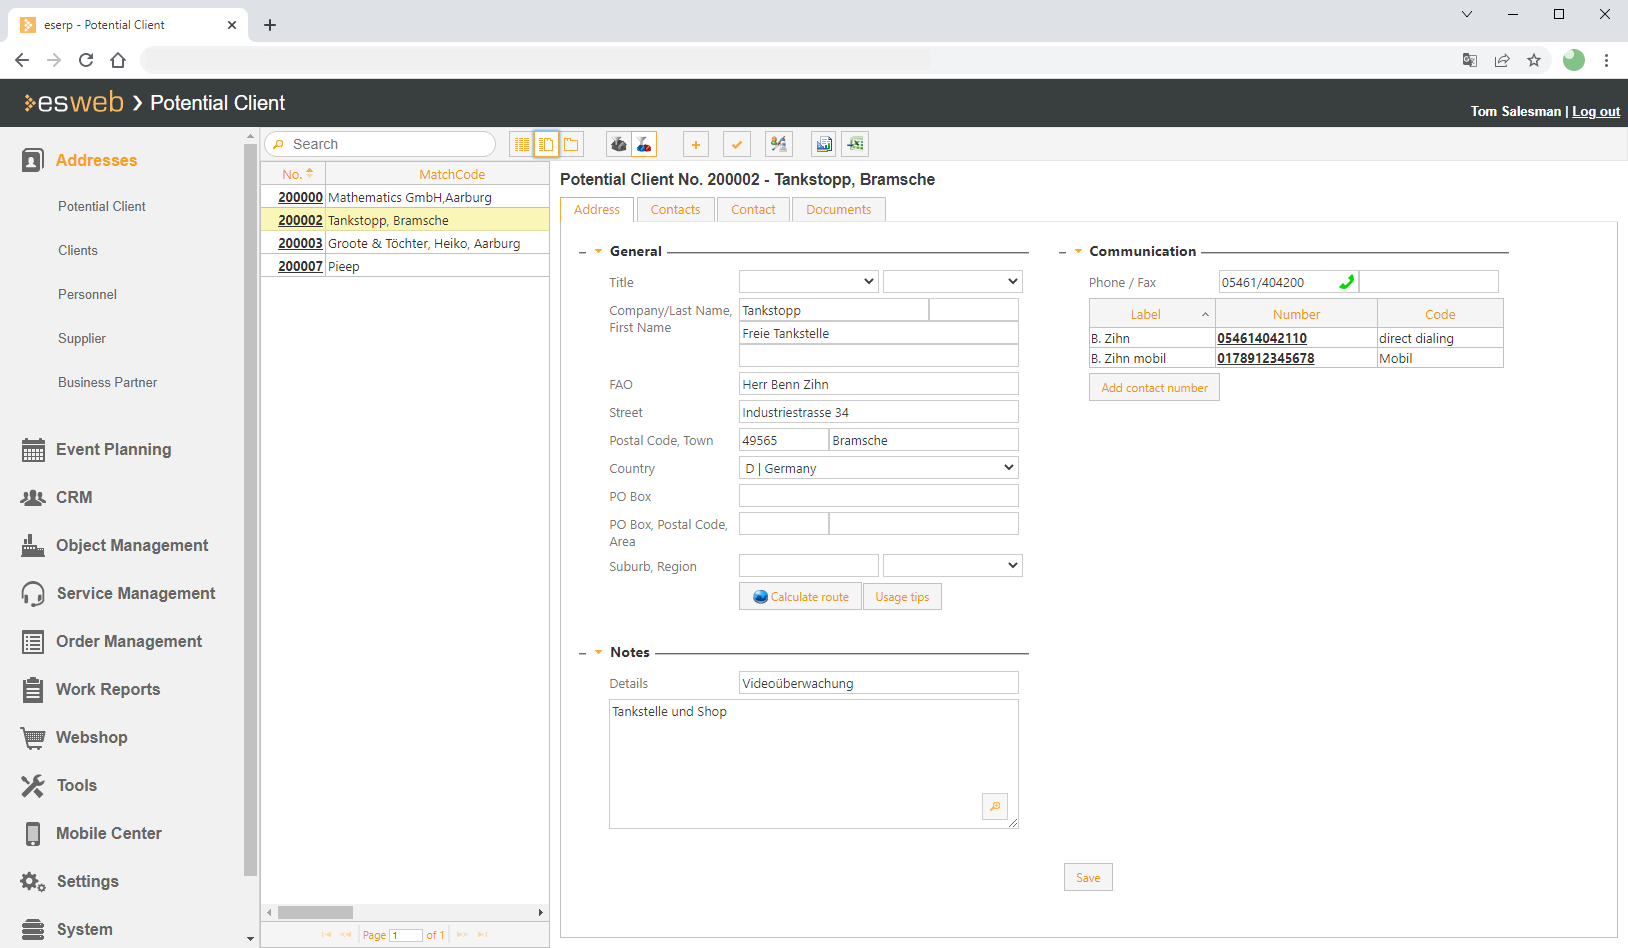
The data in a data set can only be edited in the detail view.
 Layout: Detail view
Displays one data set as a detail view.
The detail view will display different tabs depending on the data set. The data is arranged on these tabs by topic.
The data in a data set can only be edited in the detail view.
 Office branch filter: Current office branch
The office branch filter is shown if you have a license for the optional Office branches module.
Also see Office branches
General | Office branches | Office branches authorization is required for display of the office branch filter.
General | Office branches | View all office branches authorization is required to view all office branches.
If this filter is activated, only those data sets that are assigned to the current office branch will be displayed.
The basic function of the office branch filter is described under Office branch filter.
 Office branch filter: Own office branches
The office branch filter is shown if you have a license for the optional Office branches module.
Also see Office branches
General | Office branches | Office branches authorization is required for display of the office branch filter.
General | Office branches | View all office branches authorization is required to view all office branches.
If this filter is activated, only those data sets for all the office branches assigned in the personnel master data to the logged in user will be displayed.
Also see
-
Assign main office branch
eserp - Office | Personnel | Details I - 'Office branches' area
-
Assign further office branches
eserp - Office | Personnel | Details I - 'Other office branches' table
The basic function of the office branch filter is described under Office branch filter.
Create new record
Creates a new data set, for example a new client or potential client.
The display switches to the detail view so that you can enter the data, and a unique number is drawn from the number ranges for the data set.
The number range code used will depend on the type of data set that was created.
The KUN number range is used for clients.
 Save data set
Saves the changes made in the data set currently open for editing, including newly created data sets.
A check is made to see that all the necessary fields (Required fields) have been completed.
If data is missing from the required fields, the data set cannot be saved and a corresponding message is displayed.
 Edit layout (customizing)
The optional esweb Customizing module allows you to adjust the forms in esweb, for example by hiding fields or moving them to a different position.
It is also possible to adjust the table view (grid) by showing / hiding columns, changing column headers and the column order.
You can find more information on this under Customizing (edit layout).
 Report (print)
Enables printout of data using previously assigned Microsoft Reporting Services (MSRSS) reports.
Reports must be registered for the corresponding entry points in eserp for reports to be used.
Also see eserp - Settings | General | Reports | References | Registration.
 Export
It is possible to export the data that is displayed in various lists in esweb. Various formats can be selected for this.
This function can also be used in connection with filters so that you can export very specific information.
Use the Activate export function option under Settings | General | Parameter - General area in the esweb settings to specify whether the export function is displayed in esweb.
This is described under Excel export